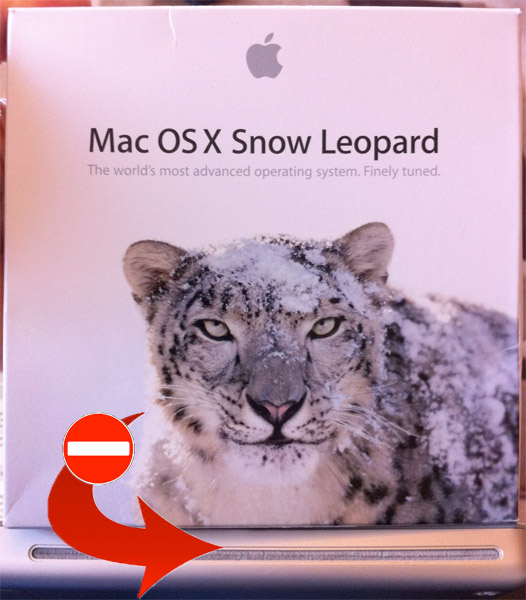
 I’ve had a few issues with my MacBook Pro recently mainly, I think, because of low disc space. I ran Disk Utility (Mac equivalent of ‘chkdsk’ on Windows) and it informed me of some file system errors too. With OSX Lion arriving any time soon (and for the bargain price of about £20 ($29.99)) I thought I had better get things into shape before upgrading. In order to do this I needed to boot from the Snow Leopard installation DVD.
I had one slight issue though. The ‘SuperDrive‘ has been very temperamental over the last year or so and 90% of the time spits out any DVD inserted, but works perfectly fine reading and burning CDs. I tried about 5 times to boot from the DVD but each time it spat it out and booted into the normal operating system.
I knew from previous conversations with @DarrenGriffin that you can create a bootable USB stick with the Snow Leopard installation files on it quite easily and that it has the added bonus of being far quicker than the DVD. So, that was my plan. A quick Google for ‘install Snow Leopard from USB stick’ brought up a tonne of results and it did indeed look very easy:
- Insert memory stick (8GB is big enough)
- Use Disk Utility’s ‘Erase’ to format the drive as ‘Mac OS Extended (Journaled)
- Click ‘Restore’ tab
- Insert Snow Leopard DVD
- Drag the DVD image to the ‘Source’ field
- Drag the newly formatted USB drive to the ‘Destination’ field
- Click ‘Restore’ and wait for it to do it’s job
- That’s it. You have a Snow Leopard install disk on a USB drive.
As you can imagine, I struggled on part 4… I couldn’t actually use the Mac to create this bootable USB drive because I needed to be able to use the DVD! The mighty @DarrenGriffin suggested I use another machine to create the bootable USB drive to which I replied rather abruptly (and possibly rudely [apologies mate!]) “I only have a Windows machine, surprisingly there aren’t many guides for using Windows to create a bootable Mac drive…”. He then mentioned about ripping an ISO image and transferring it to the Mac… Oh yeah, why hadn’t I thought of that…?
So, up to the Windows machine and I inserted the DVD expecting it to tell me it couldn’t read the file system. However, it didn’t, although it did load up a Windows section of the DVD (for installing Bootcamp etc). Having fired up DVD Decryptor to create the ISO I saw that the volume was called ‘WindowsSupport’ and wasn’t as large as I was expecting… Still, I went ahead and ripped the ISO onto a 320GB FAT32 external drive (as I knew both Windows and Mac could use FAT32). I was happy to see that the full 7GB or so had been ripped and not just the ‘WindowsSupport’ volume. I was slightly onfused though when I saw 3 files – SnowLeopard.MDS, SnowLeopard.l00 and SnowLeopard.l01 when I was expecting a single SnowLeopard.iso. The .l00 was 4.29GB and the .l01 was just over 3GB. At this point 4.29GB should have rung a bell, but it didn’t.
So, back to the Mac and I connected up my external drive and attempted to use these files for the restore ‘Source’ (part 5 above) but it wouldn’t. I needed an iso image, not 2 .l0x files… Google was a little bit helpful and suggested a few different apps that would join the files together. Neither of these seemed to work though as they claimed files were missing. I renamed the files as SnowLeopard.iso.l00 and SnowLeopard.iso.l01 as a few sites suggested it would work this way – it didn’t. Then I stumbled upon a Terminal command line that was so simple that it couldn’t have been true…:
cat SnowLeopard.l00 SnowLeopard.l01 > SnowLeopard.iso
The ‘cat’, I presume, comes from ‘conCATenate’ meaning ‘to stick together’ as opposed to a snow leopard being a cat. I ran this and it seemed to be working – I could see in Finder that it was creating SnowLeopard.iso and it was gradually getting larger. But then it stopped and said it couldn’t create the file. For once though it gave a valid reason: FAT32 cannot do files larger than 4.29GB. Ah, yes, so THAT was why 4.29GB should have rang a bell earlier! I needed to transfer the files to the Mac itself where the file system could handle the full size files. Slight problem though, I only had 9GB free space on my drive – just enough for the source files but not enough for the finished file as well. What followed was an immense session of transferring files across the network to the other computer, a healthy purge of thousands of old emails and the fulfilling removal of lots of unused apps and old files. In the end I freed up an extra 22GB, giving me 31GB spare in total. More than enough! Running the ‘cat’ command again worked a treat and resulted in a single ISO file that Disk Utility allowed me to restore onto the USB drive. Shortly after I had a bootable USB version of the Snow Leopard install disk.
I shut down the Mac, inserted the USB drive, started the computer and held down ‘c’ on the keyboard and after a short time I was greeted with the OSX Snow Leopard install screen. I hit ‘utilities’ in the top menu bar, chose Disk Utility and ran the repair on the main volume. After about 10 minutes it reported that the errors had been fixed. Result!
So, now I have a fair amount of free space on my MacBook Pro, an error-free file system and a bootable USB version of Snow Leopard. Not bad for a nights work! It’s just a shame that in the coming weeks, when Lion is released, the majority of this work will be redundant as Lion is download only and doesn’t require bootable media…


that was very interesting MaFT
Ah, but should you choose to do a fresh install of Lion this may well all come in handy.
Ah yes, that’s very true!
Wat ur take on Lion ny good
Can’t complain for £20 🙂 Some nice features but had a bit of hassle with needing to reinstall some apps as they didn’t like being upgraded. There’s a new built in recovery partition too which is good. So no need to boot from DVD etc for HDD issues.
mmmmmm
my other machine is a ubuntu box like much more but logic not work on wine :0( yeah £20 notes to upgrade kinda kool I wonder……
Thanks so much I have been using this feature on my MBP for many years now but when tyring to set my aunts new MBP up I was completely baffled as to how to get the one finger click and drag.